Husqvarna
Husqvarna D-Shaped Carabiner
Auto-locking D-shaped carabiner for arborist climbing kits.
Typical $22
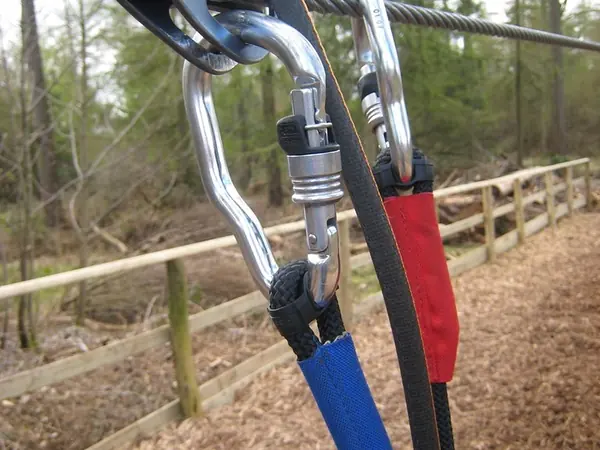 Auto-Locking Carabiners
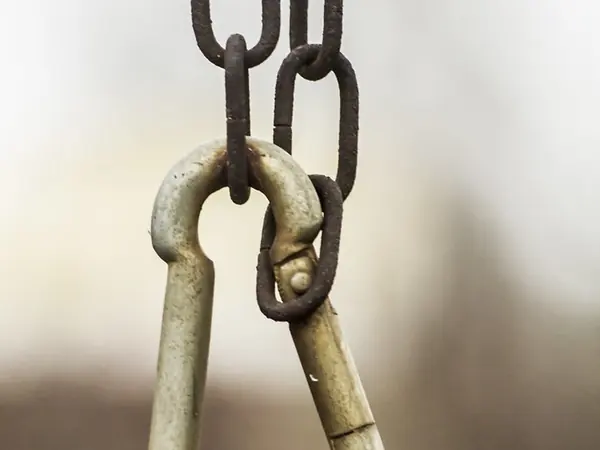
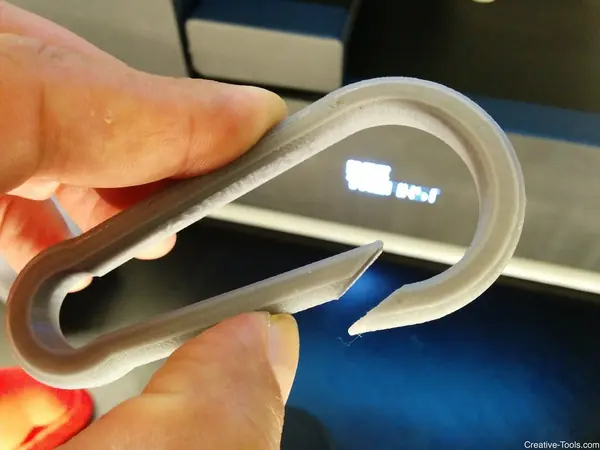
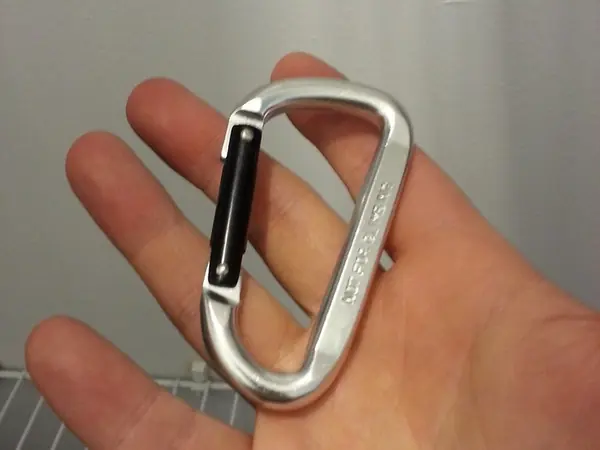
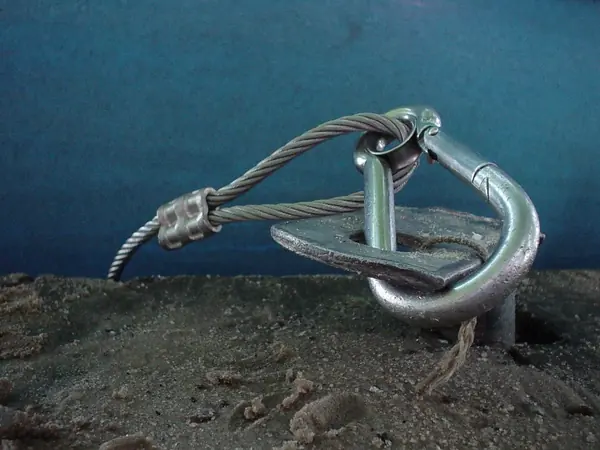
Representative photo. Check the retailer listing for the exact model, color and size.
Photo: Carabiners and Pulley by psd, CC BY 2.0
An auto-locking carabiner with a captive bar that keeps the load where it belongs.
The DMM Ceros carabiner pairs a Locksafe auto-locking gate with a captive bar that holds a device or rope in one position. That keeps the load off the minor axis, which is useful anywhere a connector could rotate on a bridge, ring or device.
A carabiner that can rotate can end up loaded across the gate, where it is much weaker. The Ceros bar splits the basket so a device, eye or ring stays at the spine end. Climbers use it to attach a mechanical device to a bridge, to hold a rope wrench tether in line, or anywhere they want the connector to stay oriented.
Keep the Ceros dedicated to the job you set it up for. Moving it between roles makes it easy to forget which side of the bar carries the load. Many climbers mark it with colored tape on the spine, away from the gate and the rope-bearing surfaces, so it stays on the device it belongs to.
The Locksafe gate needs a deliberate sequence to open, so it will not roll open against bark or a branch. See our other auto-locking carabiners for different shapes and sizes.
Open and close the gate and make sure it snaps fully shut and locks on its own. Look for grooves worn by rope, burrs, cracks or a sticky gate, and clean out grit with warm water if the action slows down.
Treat it as life-support gear: follow the manufacturer's instructions, check it before every climb, and retire it after a hard fall, a drop onto a hard surface, or any damage you can't explain. Use it within an ANSI Z133 program and only after proper training.
| Gate | Locksafe auto-locking |
|---|---|
| Feature | Captive bar |
| Brand | DMM |
Specs are from the manufacturer's published figures where available. Confirm against the product listing before you buy.
The rated strengths are marked on the spine. Load it along the major axis as shown in DMM's instructions.
Follow DMM's diagrams for which side to load. The bar is meant to keep the load in the spine-side section.
Pairs well with
Husqvarna
Auto-locking D-shaped carabiner for arborist climbing kits.
DMM
A light, auto-locking DMM carabiner with a snag-free nose for everyday climbing.
Petzl
Petzl's asymmetric D locker with a three-action auto-locking gate for climbing systems.
CAMP
A large aluminum oval with a triple-action auto-lock gate for pulleys and devices.
DMM
An aluminum oval with a Locksafe gate and a captive bar to keep devices in place.
ISC
A wide pear-shaped aluminum connector for hitches, anchors and lanyards.
ISC
A symmetrical aluminum oval with a triple-action gate for pulleys and devices.
ISC
A compact oval with ISC's Supersafe auto-locking gate for tight hitch systems.
DMM Ceros Locksafe Carabiner with Captive Bar$32